
It’s time for yet another lovely boutonniere from Leigh Anne of the Floral Lab featuring photos from Jackie Wonders. As many of you know by now, I am a huge succulent lover and absolutely adore weddings that find a way to incorporate them in unique ways. A succulent boutonniere is a sweet way to do so, and you’ll be excited to see how simple it is!
• • ♥ • •

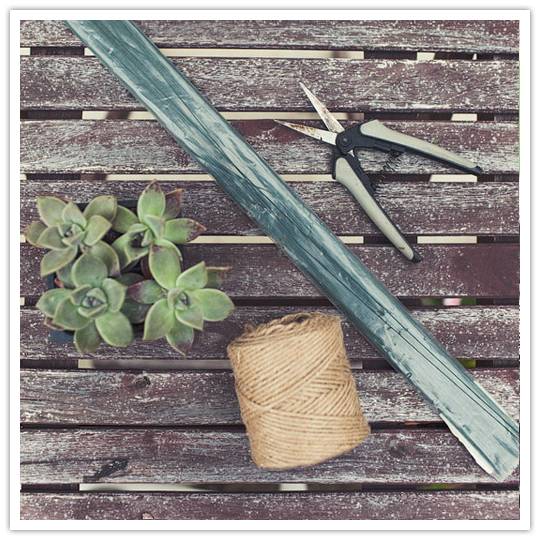
WHAT YOU’LL NEED
Succulent
Floral Shears
Boutonniere Pin
Twine
Floral Tape (Optional)
Floral Wire (Optional)
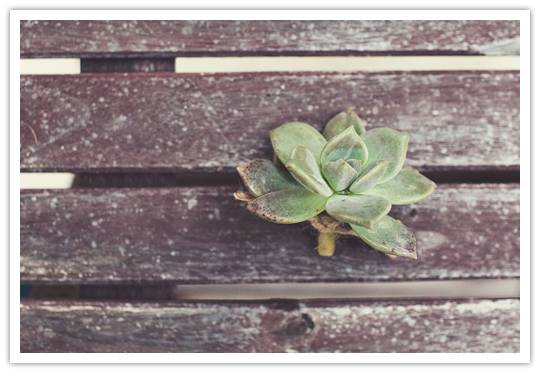
Remove the succulent from its packaging and remove the dirt and root system so you’re left with a clean stem. Clean off any dirt that may be left on the succulent top. If you feel you need to lengthen the stem, you can take the optional step to wire it (see directions below). Tie a length of twine around the succulent stem and knot it, then finish with a boutonniere pin.

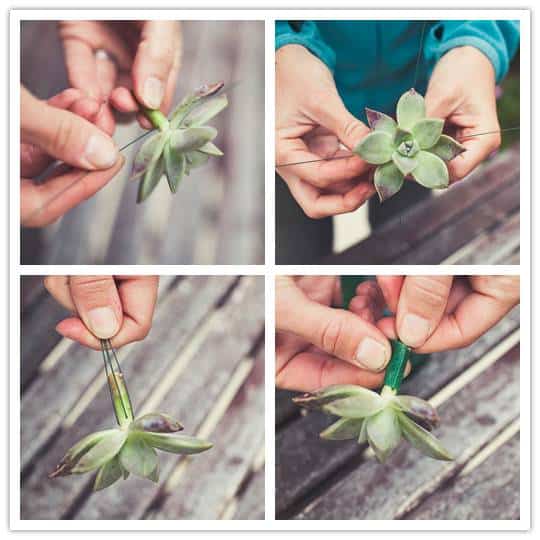
Wiring: Blossoms like orchids need to be wired for added stem support. Our succulent did not need to be wired, but a simple demonstration has been included to show you how to wire for a boutonniere or for inclusion in a bouquet. Blossoms like orchids need to be wired for added stem support. Our succulent did not need to be wired, but a simple demonstration has been included to show you how to wire for a boutonniere or for inclusion in a bouquet. Begin by removing a single blossom from its stem. Poke a soft gauge floral wire straight through the base of the stem, as pictured. For added support, poke another soft gauge floral wire straight through the base, forming an X, as pictured. Bend the wire to a 90° angle, then wrap the stem and wire with floral tape to desired length and cut wires. Each individual blossom will now have its own stem.
Storing and Attaching Your Boutonniere: If you have a refrigerator without ANY fruit or vegetables in it, you can store your boutonniere in it for up to two days. Produce gives off an enzyme that will wilt your flowers if stored together. Otherwise, it’s best to make your boutonniere the night before or day of and keep it in a cool place. When it comes time to pin on the boutonniere, it’s best to have someone other than yourself to pin in on you. Place the boutonniere on the center of your left lapel. From the back of the lapel, insert your boutonniere pin, cross over the stem, and re-insert into the fabric.
Images from Jackie Wonders. Project by Leigh Anne Landman of the Floral Lab.
What a charming little DIY project, love the finished boutonniere.
I’m gonna give it a shot as soon as the snow melt so that I can practice. If it works well, it is in.