Skip to content
Inspired Bride
Menu
Menu
Your Look
The Dress
The Hair
The Makeup
The Shoes
The Ring & Jewelry
Decor
Flowers
Cakes
DIY
Favors
Stationery
Event Planning
Color Palettes
Music & Entertainment
Bachelorette Party
Bridal Showers
Honeymoon
Inspiration Boards
Photography
Photographers
Real Weddings
Bridal Portraits
Real Engagements
Styled Shoot
Wedding Tips
Vows & Proposals
Vendors
Budgeting
Elopement
Destination Weddings
For the Guys
Bridesmaids
About
Advertise
Contact
Menu
Facebook
Pinterest
Twitter (X)
Instagram
Favors
Top Rated Wedding Favor Tags Guests Adore (Ideas)
by
Yvette
Attention Brides To Be: Where to Find Free Wedding Items
by
Chelsea
32 Cute Bridal Shower Favor Ideas
by
Sarah
18 Amazing Wedding Favor Ideas
by
Sarah
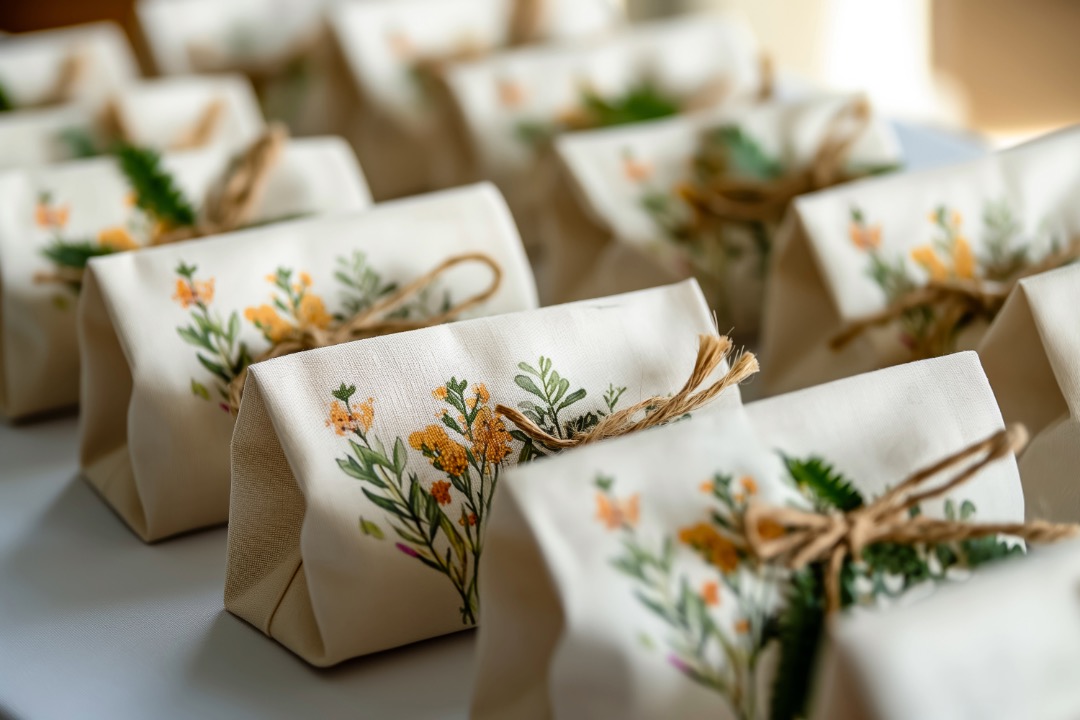
6 Trendy and Affordable Wedding Favor Bags Your Guest Will Love
by
Niki
Your Moped Bachelorette Party Inspiration
by
Bonnie
Older posts
Page
1
Page
2
…
Page
4
Next
→