Do you want to achieve what you really desire but takes less from you? Chocolate wedding favours are inexpensive to make and they are great sweet treats. These lovely chocolate favors in adorable favour boxes are absolutely amazing addition to your dinner tables. Satisfy your guests’ sweet tooth!
What you need:
- Saucepan
- Chocolate (different colors)
- Peanut butter (the filling)
- Molds
- Paintbrush
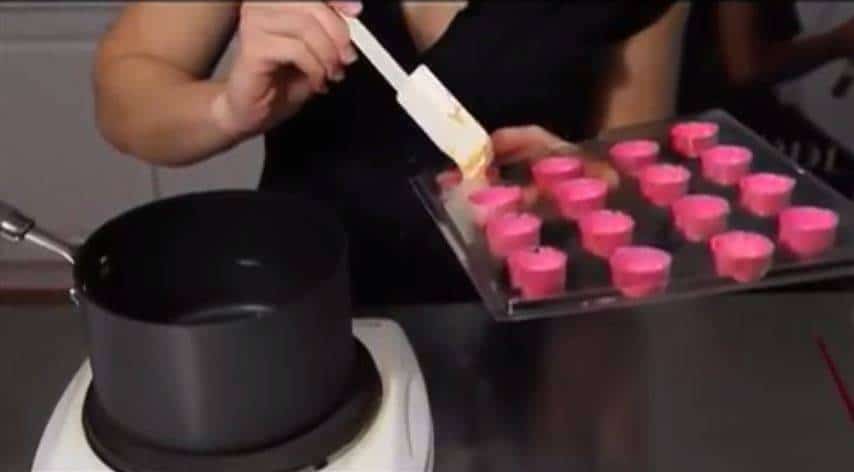
In this tutorial, pink and normal color of chocolate were used. But you can use any color you want, the same goes with your filling. You can also select any molds you like but must match the wedding’s theme. Today, we are working with rose molds.
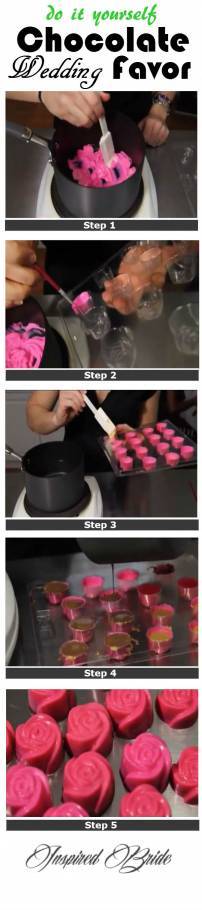
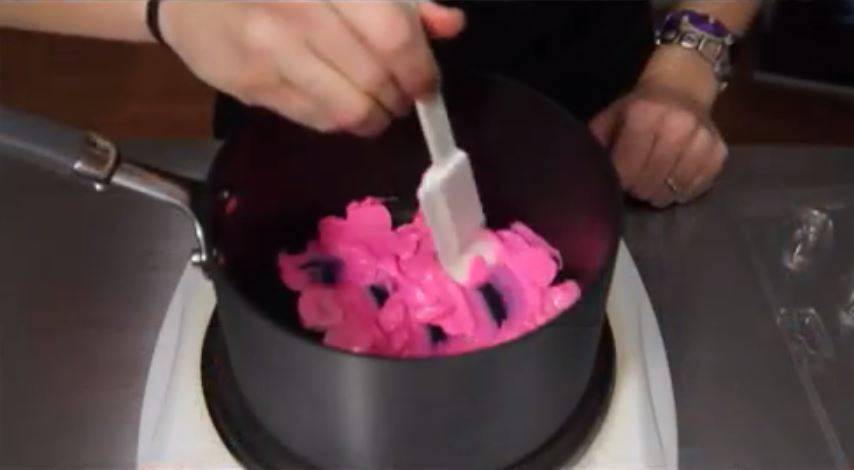
Now, we will create the first layer. Grab the bowl of pink chocolate and pour it into the saucepan. Heat it in medium heat to melt. Not too hot to avoid burning the chocolate.
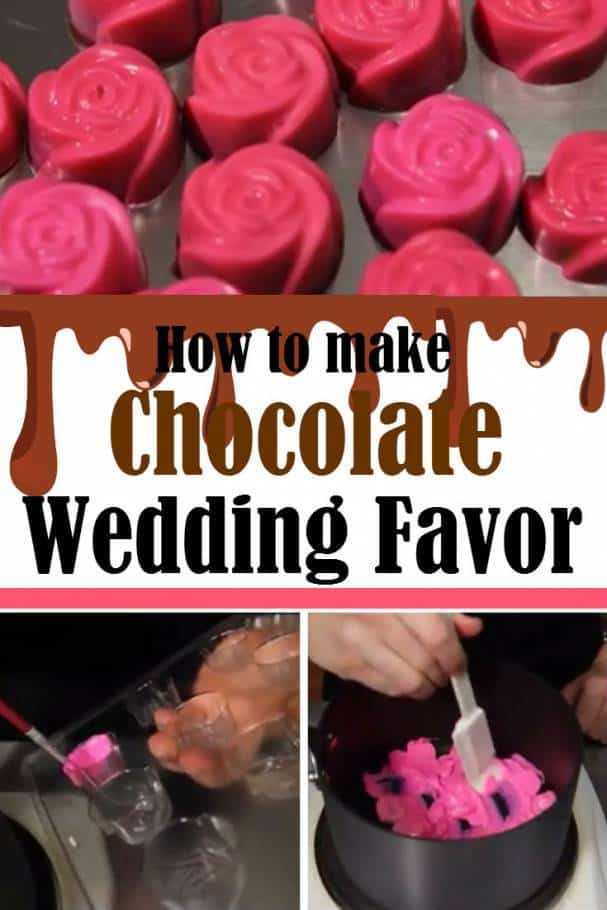
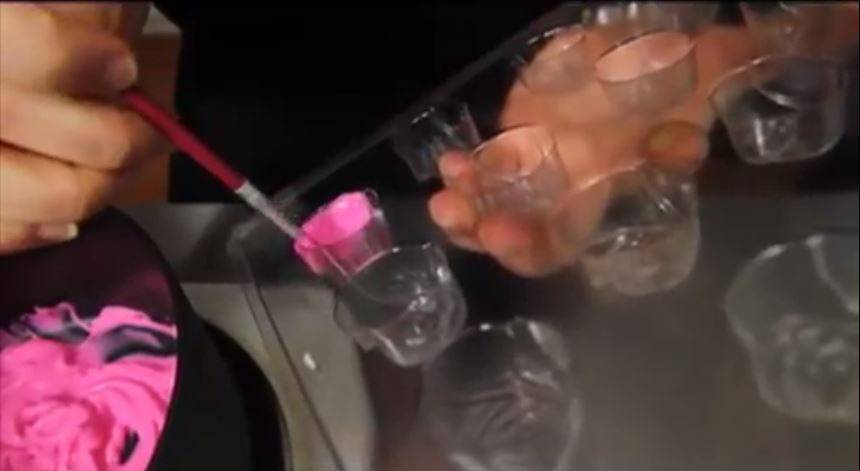
If the chocolate is completely melted, it is time to give details to the roses. Switch down the heat to low to keep the chocolate warm. Take the paintbrush, dip into the chocolate and begin to paint the outside of one mold. Make the layer even and thick. If you are done with the first one, do the rest of the molds. If finished, put it in the fridge for a few hours.
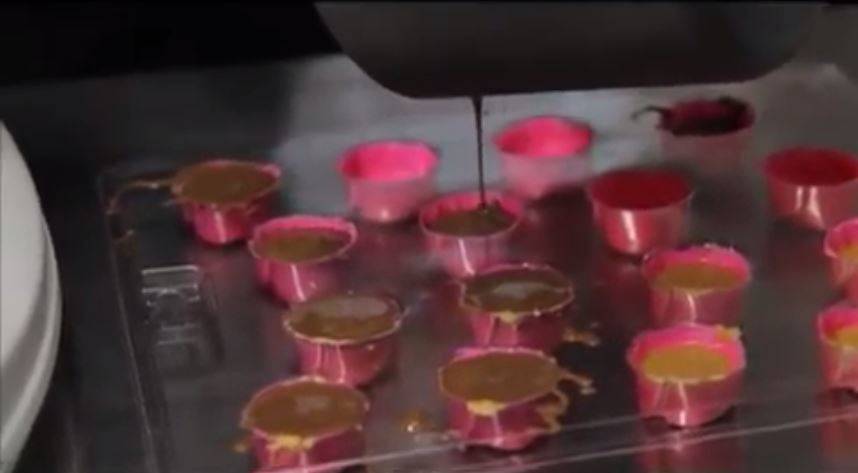
If the chocolates are solid and nice, we start making the filling or the second layer. Heat up the peanut butter in the saucepan in medium heat. Once melted, use spatula to scoop up a small amount and dab it into the center of the rose chocolates. Bear in mind don’t put too much filling to give space for the third layer. Once all the chocolates are filled, tap the tray on the counter. The tapping help for the air bubbles to come through. After that, put it back to the fridge for a couple of hours.
Lastly, you will melt the last (normal) chocolate for the third layer. Again, use spatula to put a small amount into the top of the rose chocolates. If done, give the tray the final tap. Yet again, put it in the fridge.
After a few hours, take it from the fridge and give it a little tap to lose the chocolates a bit. Press them out in a tray. Get your favour boxes ready and place about 2-3 treats on each box.
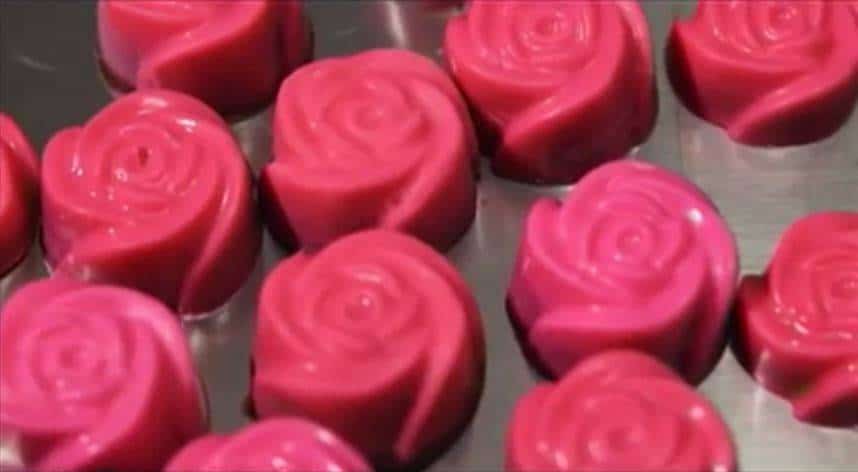
And that’s it! Handmade chocolate wedding favors as “thank you” gifts to your guests.
Watch How it is Done
Save all the Steps Above using this Bookmarklet