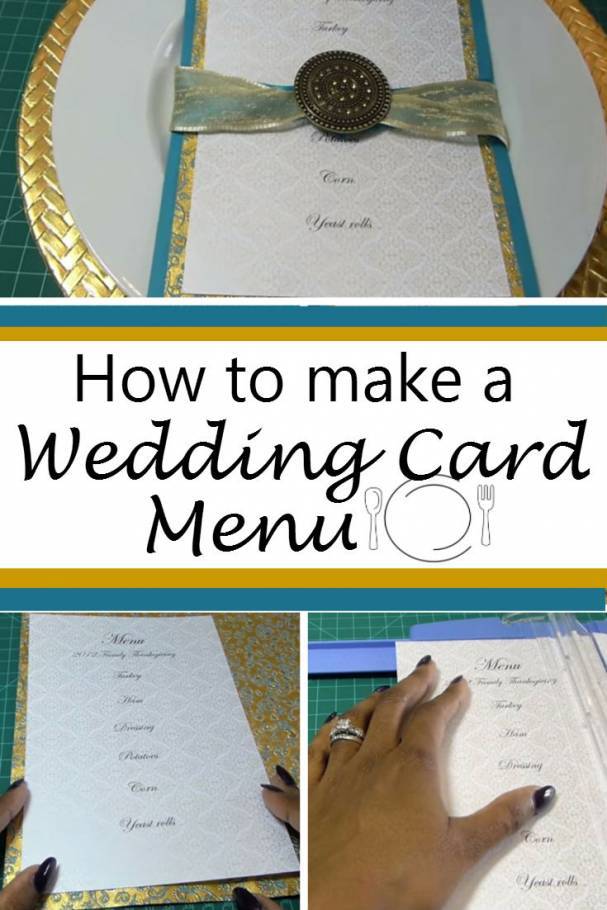
Make your menu available to your guests with this stylish DIY Wedding Menu Card. Without much experience in crafting, you can still create stunning and professional-looking card menu everyone can appreciate. Read on for instructions.
What you need:
- Card stocks (one piece with designs and one piece solid color)
- Textured paper
- Embellishments
- Ribbon
- Scissors, ruler
- Paper trimmer
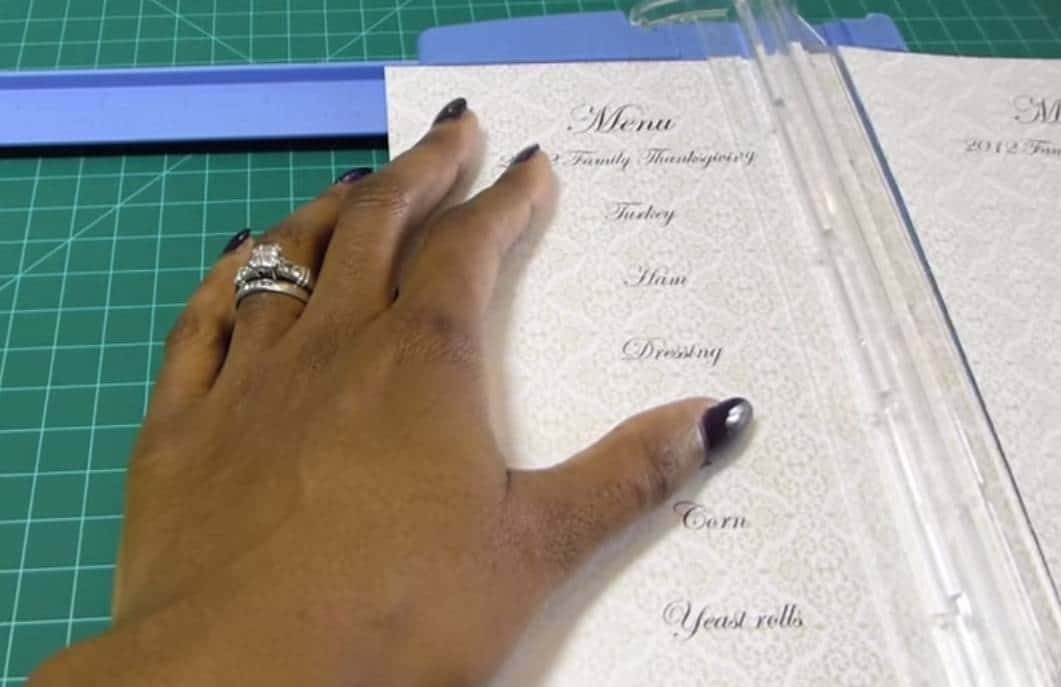
First, print out the menu on a card stock with design. You can include descriptions of each dish if you like. Make sure that the colors of your card stocks match well with the wedding theme.
Cut out the menu from the card stock. Use paper trimmer or scissors and ruler for a clean cut.
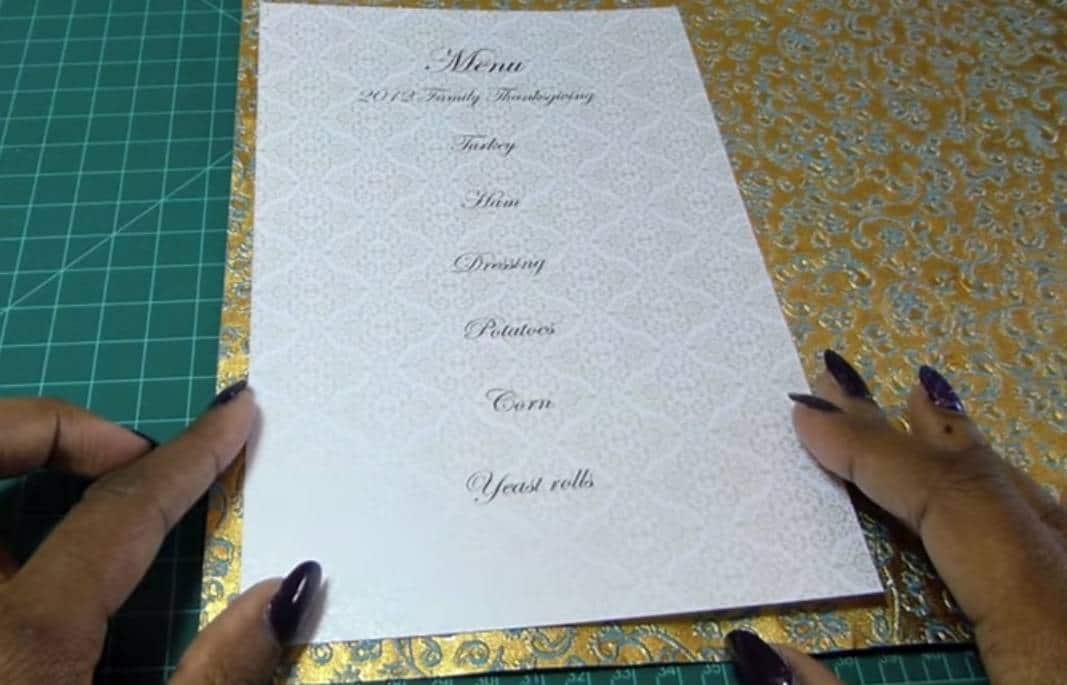
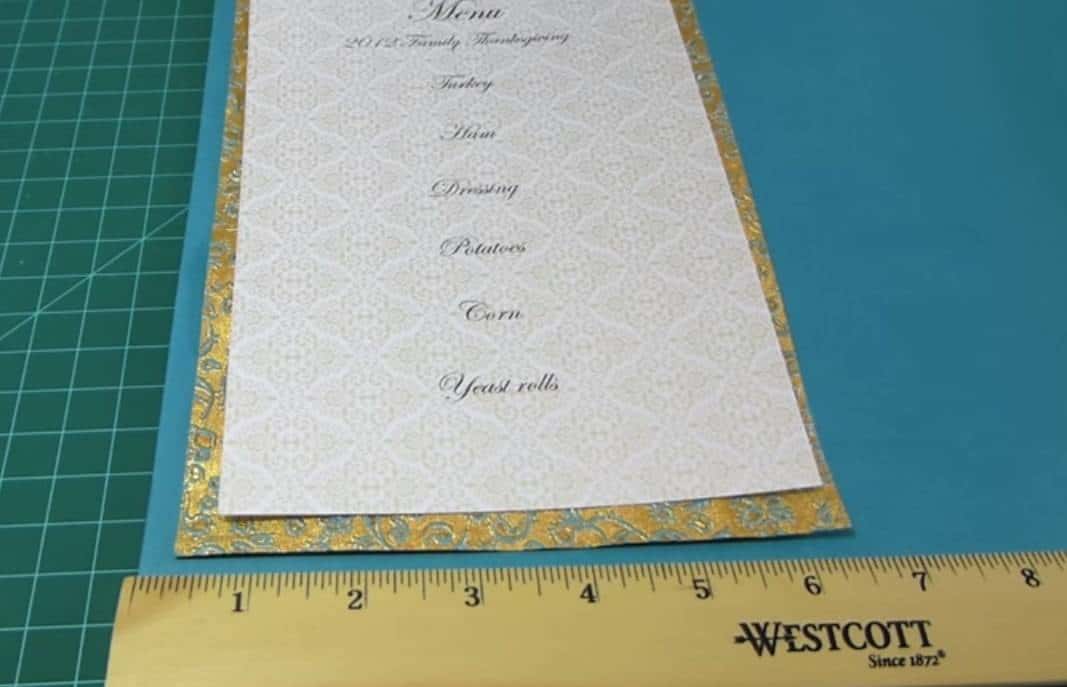
Grab the textured paper and place the menu on top of it. The textured menu should be about an inch bigger than the menu. You can use ruler and pencil to trace your measurements. Use paper trimmer to slice it out.
Now, you are going to create the third and final layer. Grab the card stock solid color and place the two previous paper on top of it. The card stock should be half an inch bigger than the second layer. Cut it out.
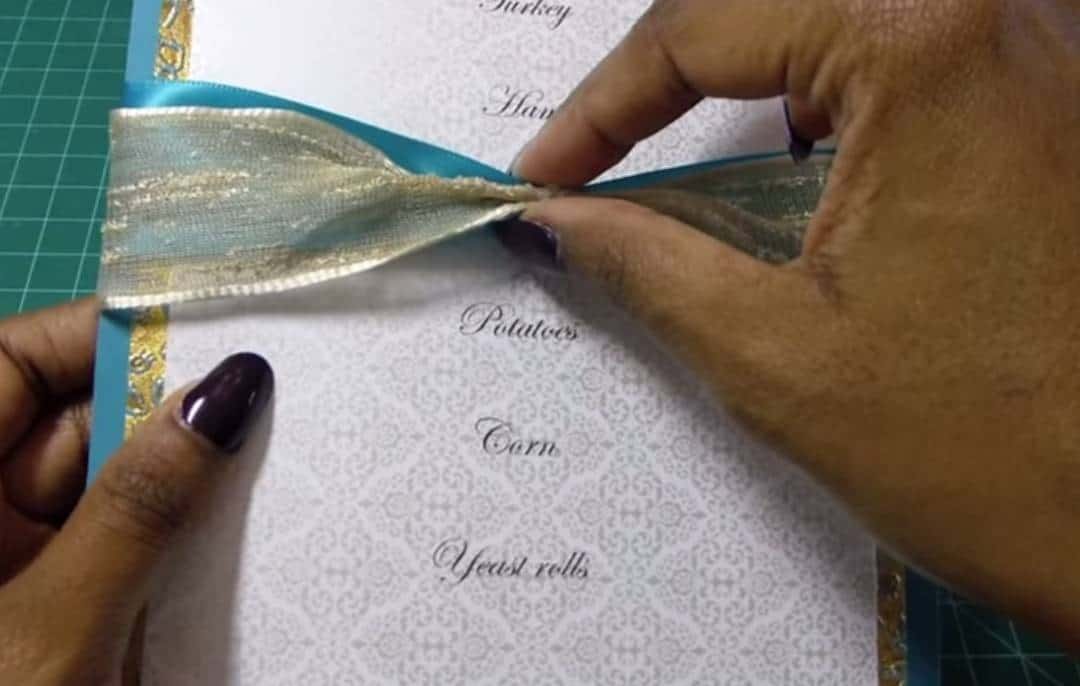
Arrange the three layers of the paper and wrap ribbon around these papers.
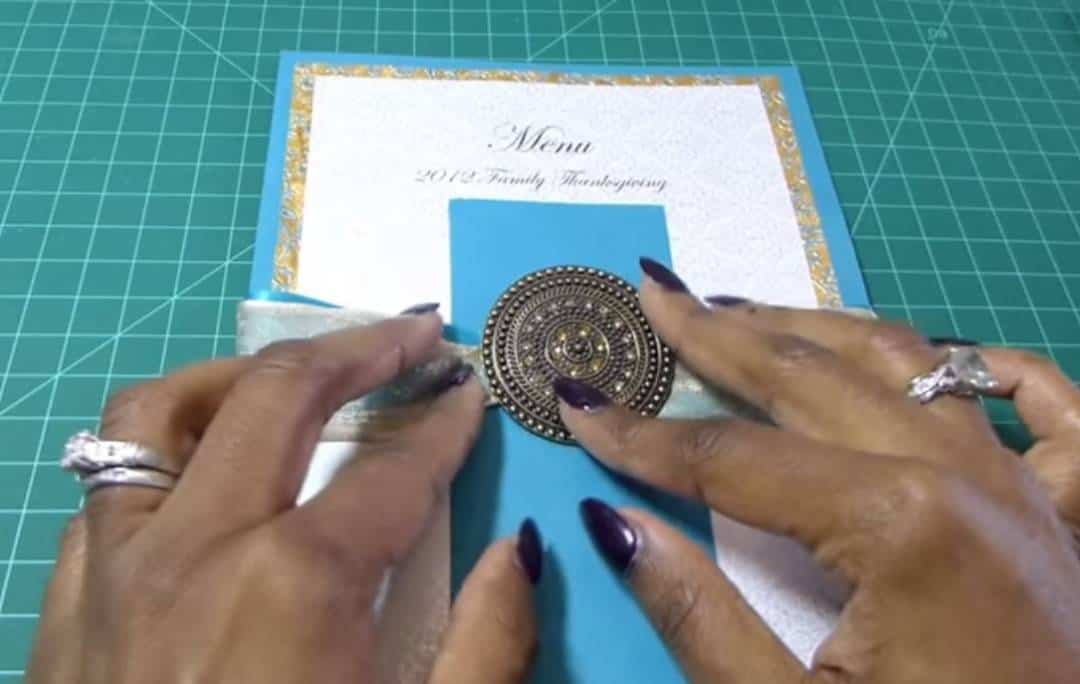
Now, you are going to place your embellishment in front of your menu card. Before that, insert any paper behind the ribbon to protect your menu from the mess. Apply glue on the ribbon and stick the embellishment.
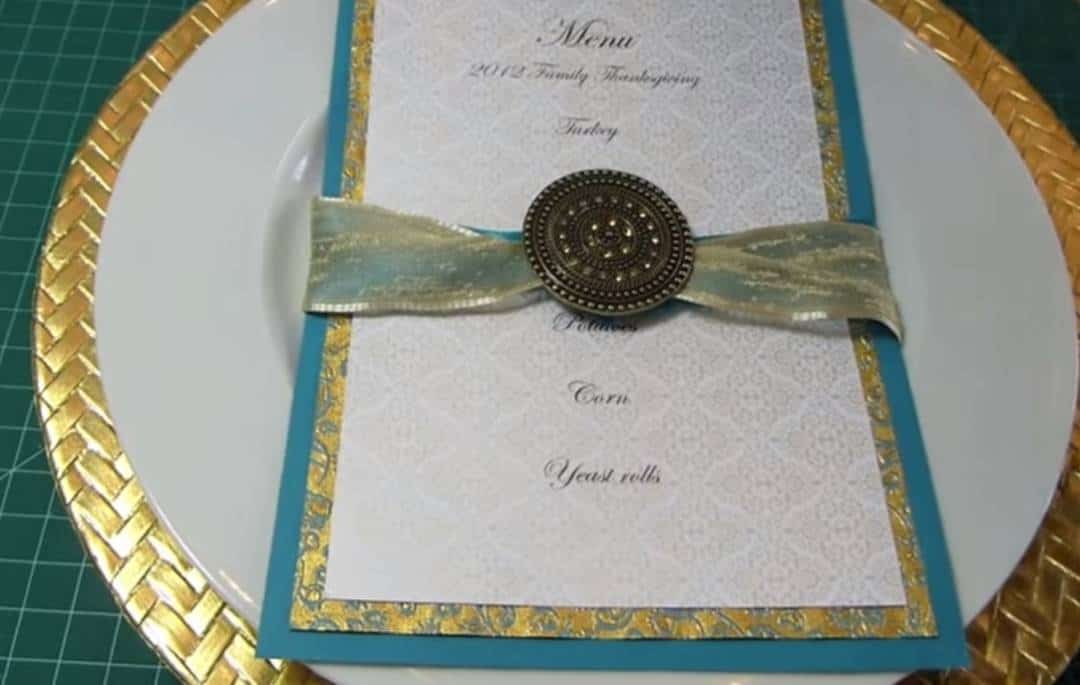
And you are finished! A simple and astonishing DIY wedding menu card to add elegance to your special day. You can also consider repurposing a vintage birdcage into a charming wedding card box.
Watch How it is Done
Save all the Steps Using this Bookmarklet
