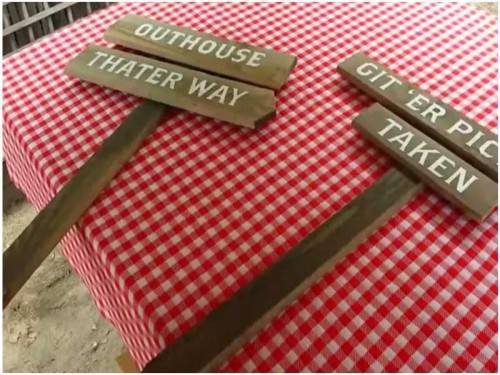
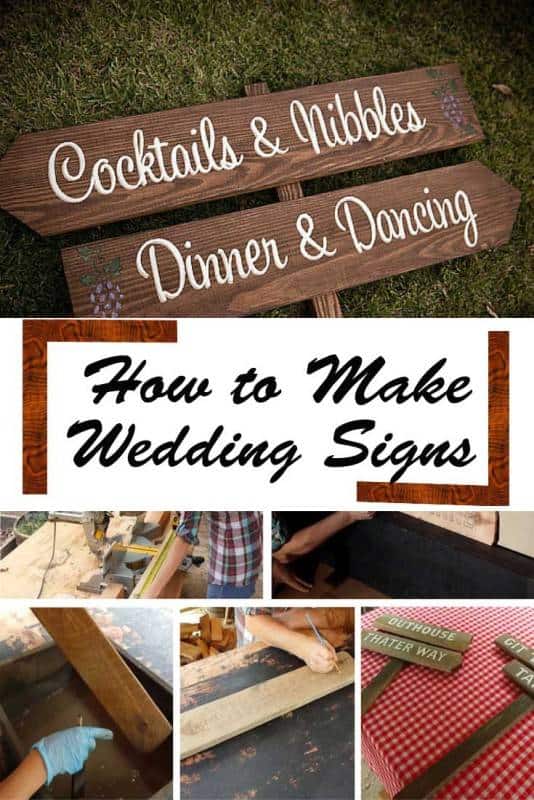
DIY wedding signs are stunning and fun details to your event. They tell the guests where the drinks are, where the photo booth is or where the restroom is. It takes a bit of wood work, lettering and creativity but the outcome is worth it. In this tutorial, we are making rustic wedding signs.
You need:
- Wood
- Paint (white, black, brown)
- Saw
- Jigsaw Tool
- Stakes
- Staple Gun
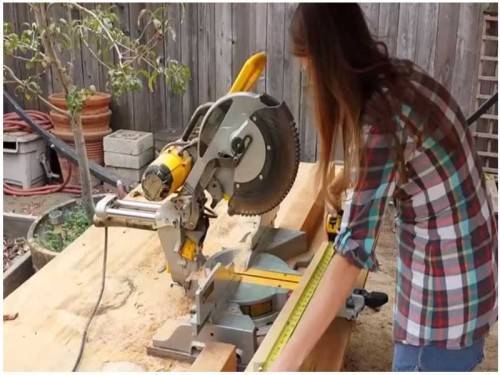
First, you have to determine the size, style and how many signs you need. You have the freedom to decide how long the signs should be as well as the appearance. Use saw to cut the woods to your desired sizes. Using jigsaw tool, make clean carves at both ends to achieve a classic look.
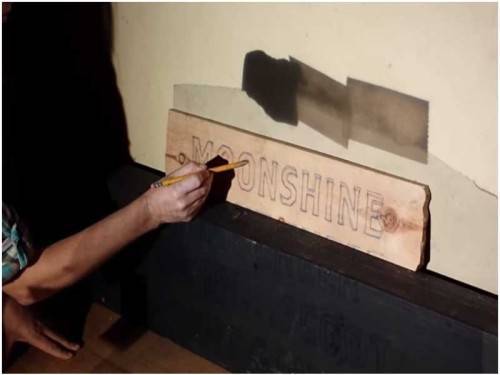
Decide on what you should write on the signs. Choose the style which suits the theme of the wedding. Then, print the letters on a transparency paper and put it on an overhead projector. Focus that the letters fit perfectly on your sign. Trace it with a pencil. If you do not have a projector, you can directly write down the letters on the woods. Make sure the size and appearance of the letters are consistent.
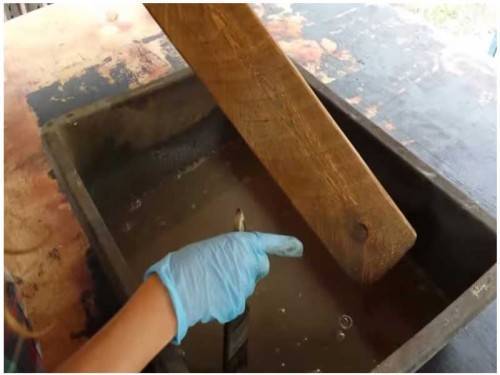
Use chisel to give your wood sign some character. Then, use sand block to polish the edges of the wood. If your wood is smooth and clean, it is ready to be painted. Mix brown and black paint with a bit of water. This mixture will give the sign that country look. Using a brush, start painting and make sure the sign is well covered. After that, grab some stakes from local hardware store if you can’t make one on your own. Stakes can be in different lengths depending on your needs. Covered those stakes with the same paint you used on wooden sign. After that, let them dry.
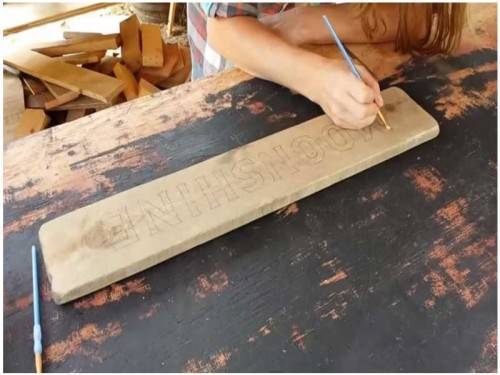
Get your white paint and brushes. The brushes you use depends on the complexity of your letters. In this tutorial, an angle brush is used since the font of the letters has many angles. The traces you made before serve as your guide in lettering. Start painting from one letter all the way down to the last.
After all the letters are painted, get the stakes. Glue the wood sign on the stakes and secure it with a staple gun. One creative alternative is using nails. Paint the heads of the nails to look like rusty. Use these nails to put the wood sign in place. And you are finished! A DIY wedding signs so guests surely know where they are going.
