One way of making your wedding more personal and creative is DIY projects. They are inexpensive, quick and fun to do. Today, we are going to create a canvas banner that is a perfect decor to bride and groom chairs. A pretty, simple and charming project that will surely captivate every guest.
What you need:
- Canvas
- Template of the letters
- Ruler
- Rotary cutter
- Paint (desired color)
- Nylon polyester rope
- 2 pieces of grommets
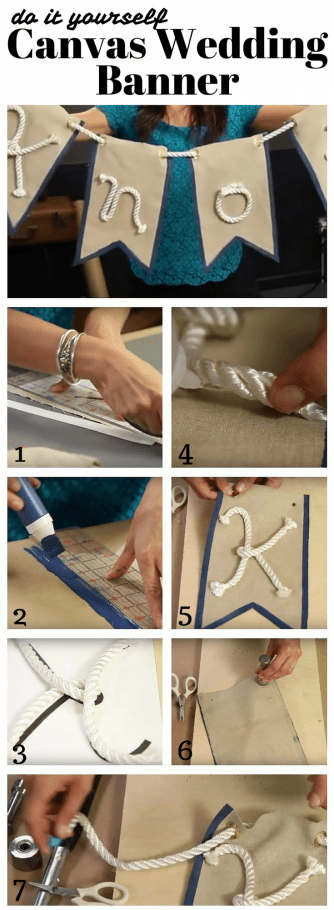
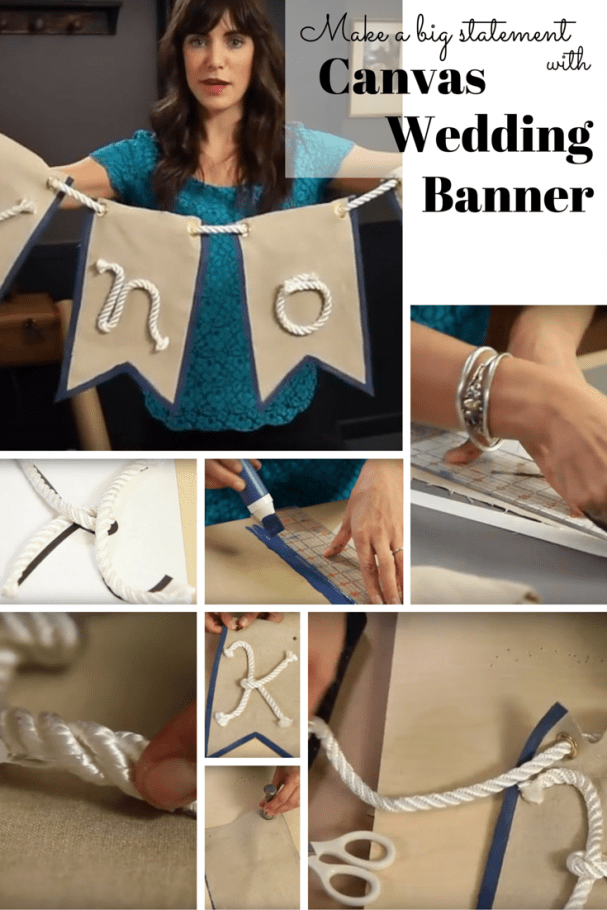
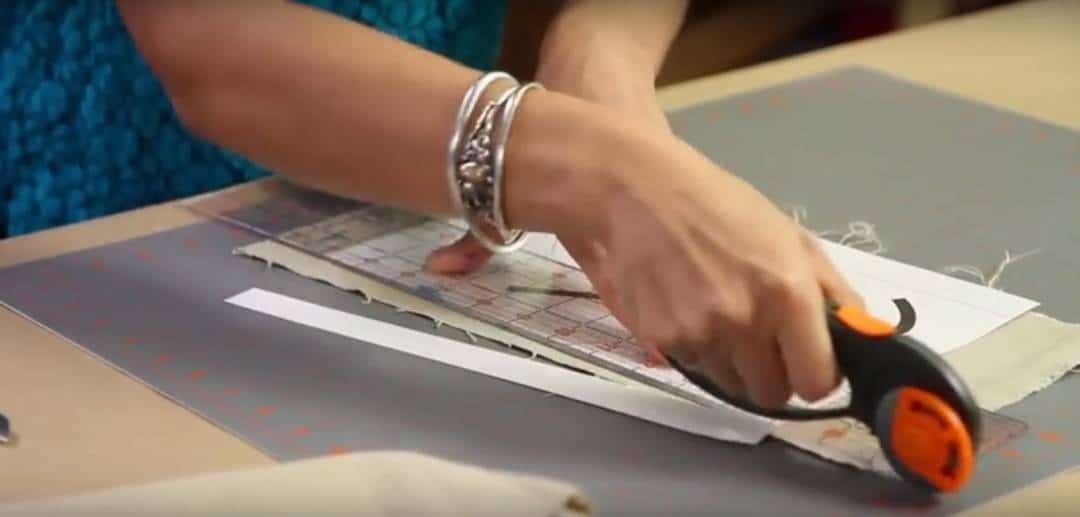
First, you have to choose the font of the letters and print one letter on an 8” x 11” paper. This will serve as the template as you work with the canvas. Place the paper on top of the canvas and then use rotary cutter to cut through the sides of the fabric following the size of the paper. Cut at the bottom the tail making sure not to overlap the template.
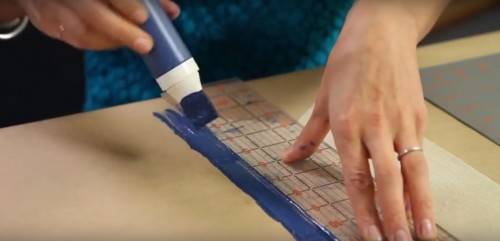
Place the paint in a squirt bottle with a sponge brush so it would be convenient for you to color the canvas. Put ruler on the canvas in line with the sides leaving about half an inch and paint it. The paint will stiffen the fabric to secure the edges. Repeat the steps to paint the other sides as well as on its tail.
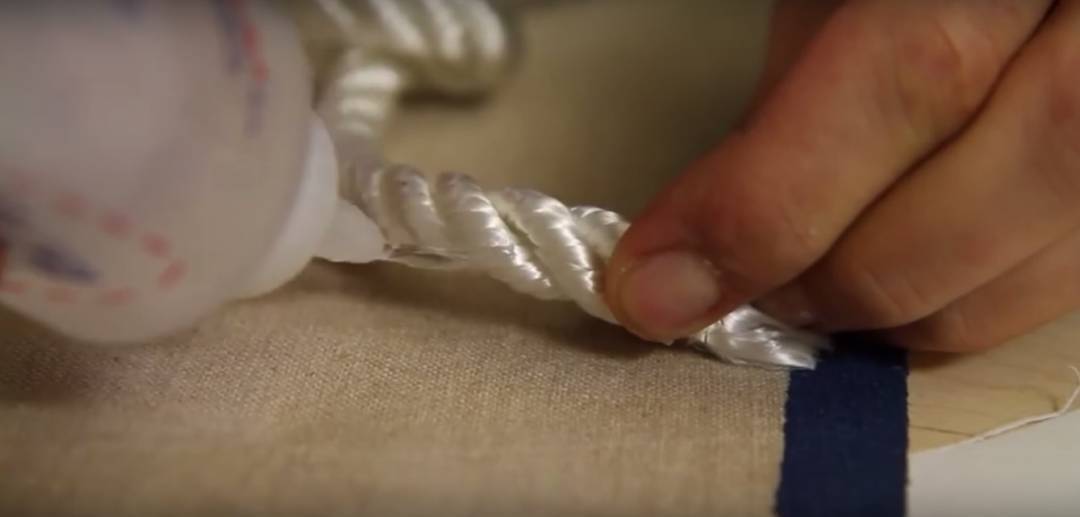
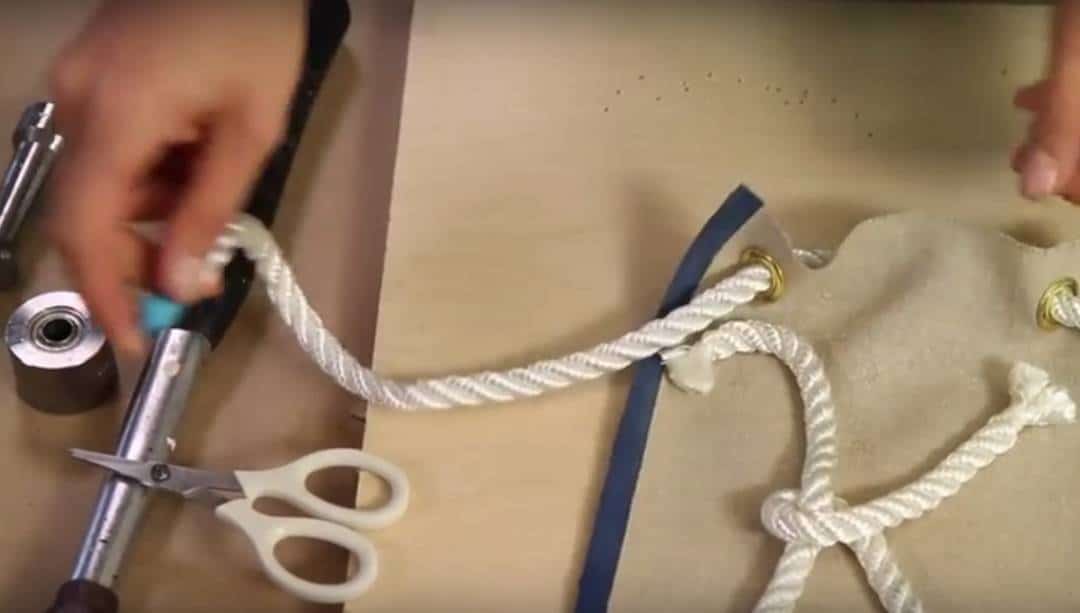
Grab the nylon polyester rope. and t To secure the edges, wrap some tape around it. Then, cut on the middle. Grab a clear nylon rubber band and wrap it around the edge of the rope until it is tight. After that, remove the tape. Following the template, place the rope tracing the letter.
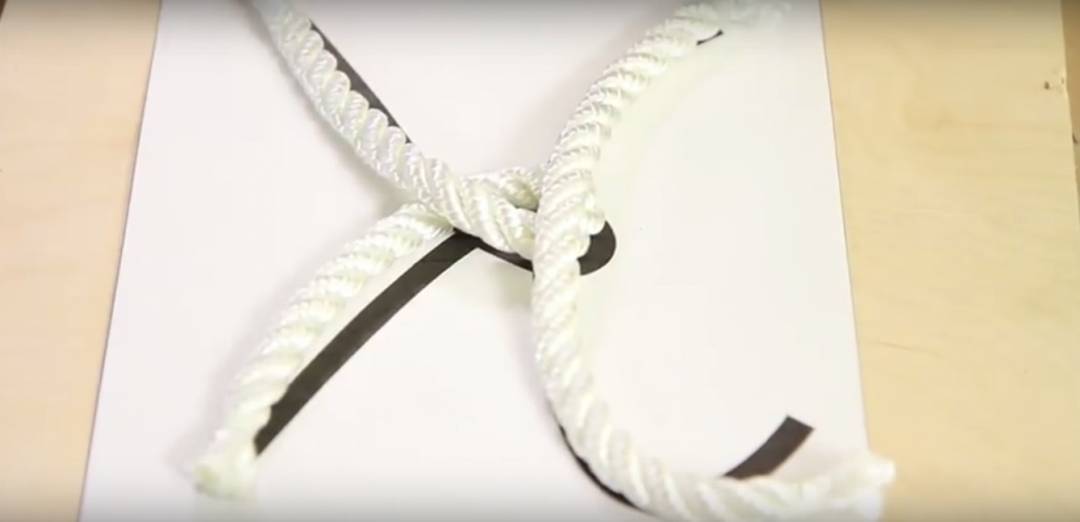
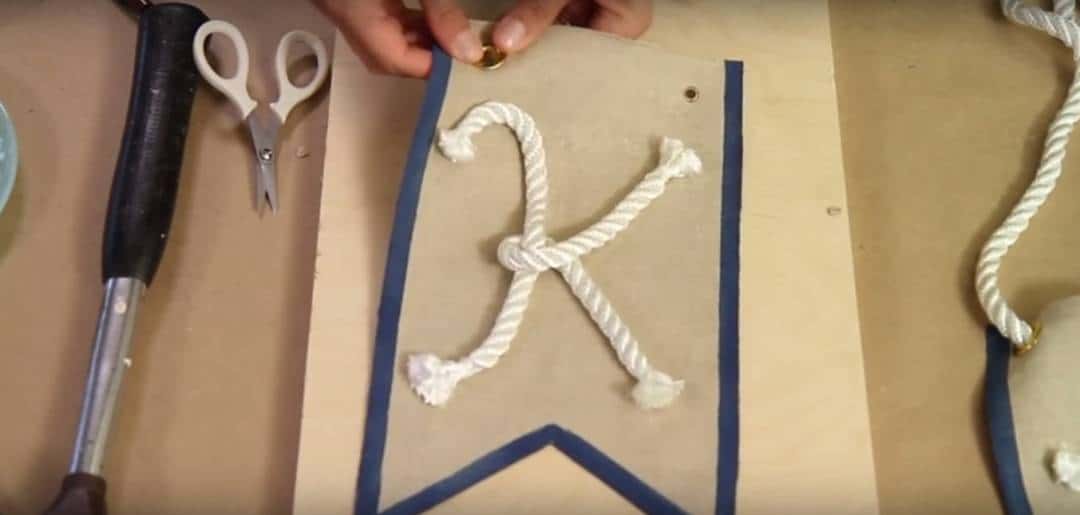
If you are done creating your letter using the rope, remove the template. Position the rope and using fabric glue to stick the rope on the canvas.
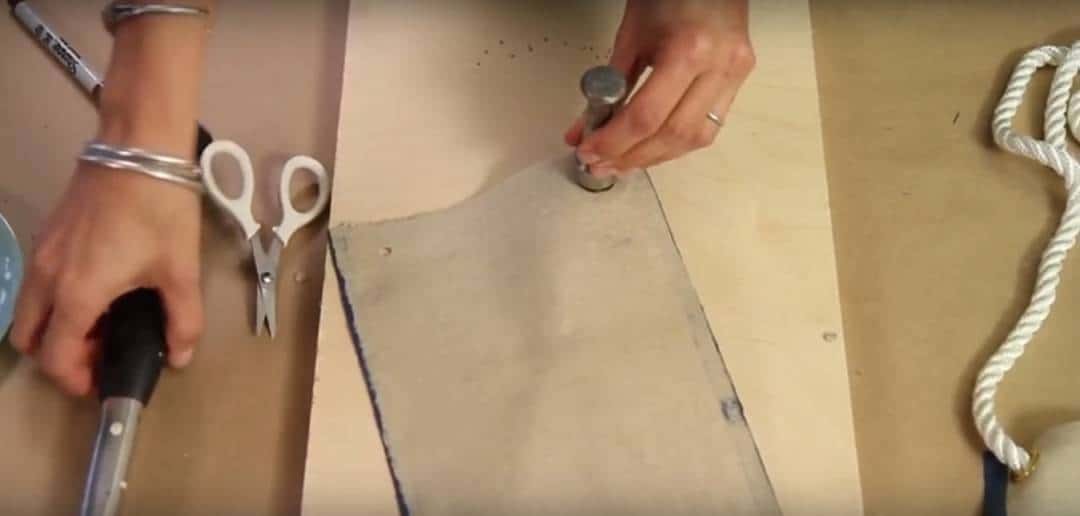
Next, we are going to create holes on the banner to hang it. Grab two pieces of grommets and place it half an inch from the top of the banner. Make sure to place the banner on the wood for hammering later. Use pencil to mark the grommets to know where they are. Remove the grommets and use scissors to cut the fabric out.
Bring back the grommets and flip the banner over. Place the female piece and insert the top part of the grommet setter, hold and use hammer to hammer it down. Repeat the steps for the second grommet.
Insert the nylon polyester into the holes.
Add the other banners you made and finally, hang it. And you are done!

Watch How it is Done
Save All the Steps Above using this Bookmarklet