Planning a winter wedding could be daunting especially if the winter elements are not readily available during preparation. In this DIY tutorial, you will learn how to turn those dull, plain containers into beautiful decors and get that perfect wintery feel. I assure you, this project is so easy and takes a little time to make.
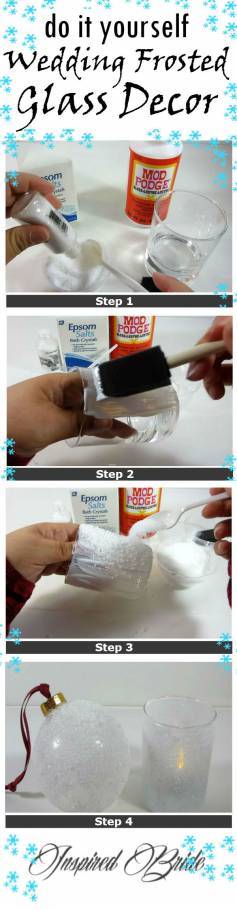
What you need:
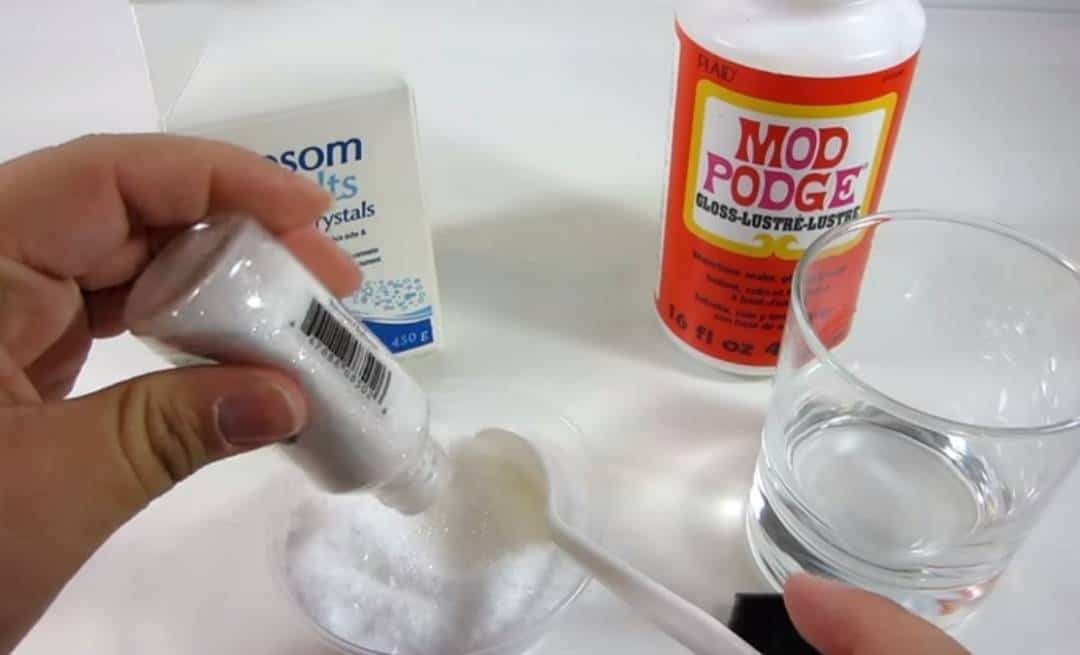
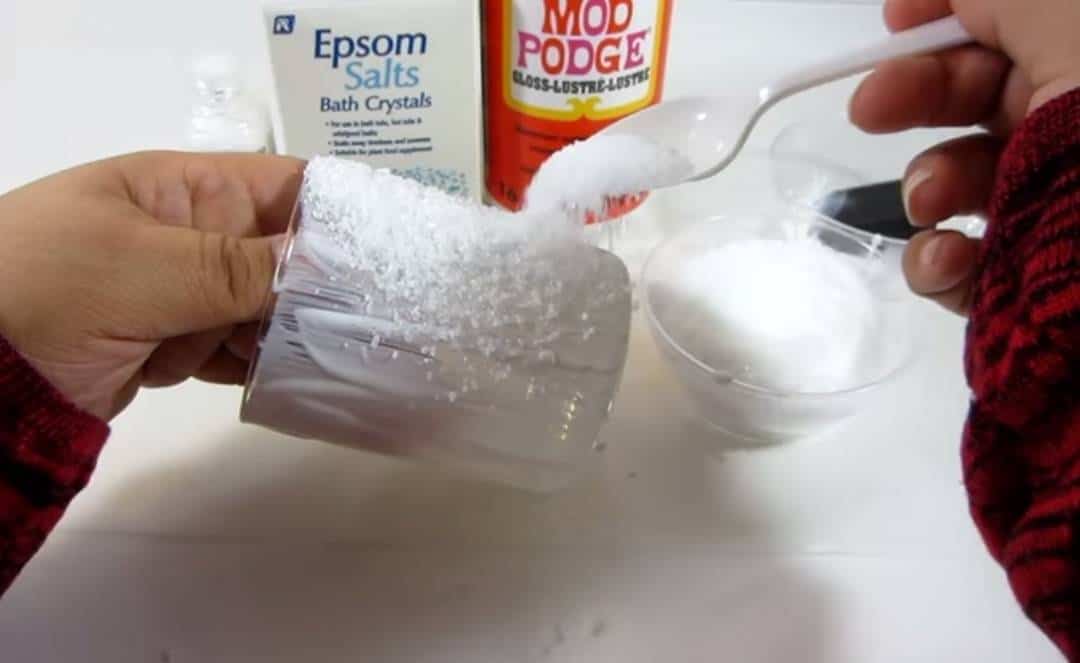
- Bath crystals or bath salts
- White glitter
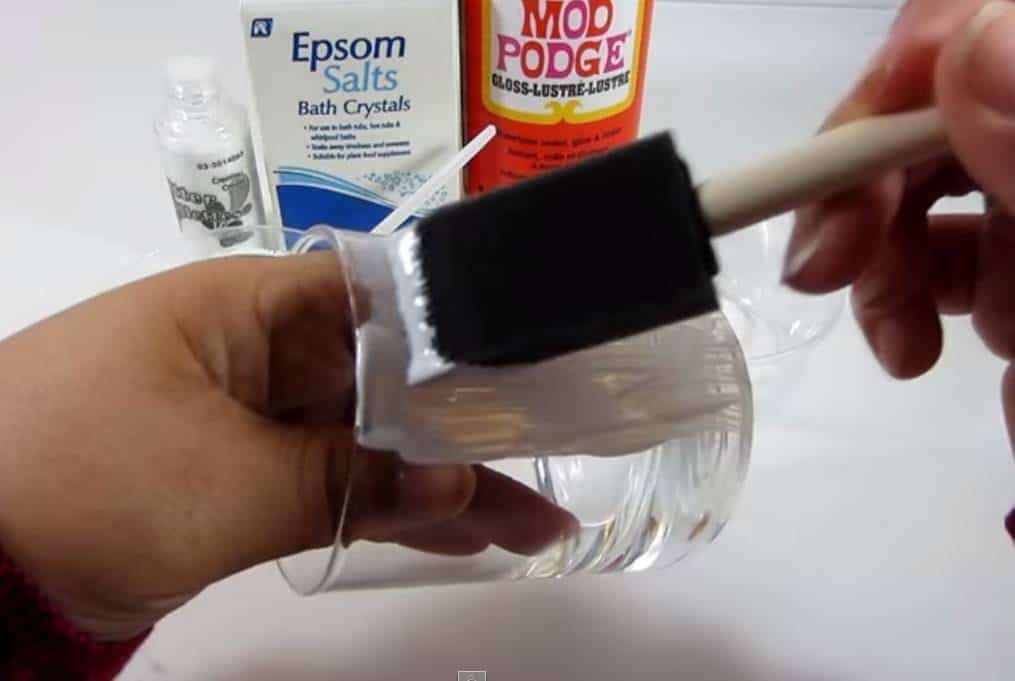
- Mod podge
- Glass container
- Paint brush
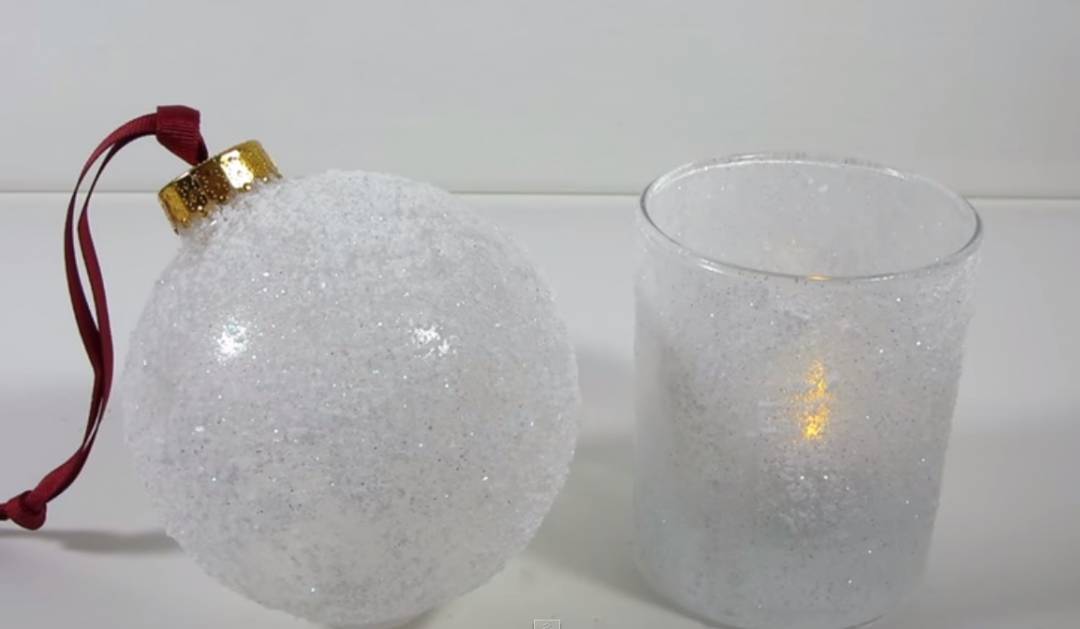
Pour the bath crystals into the bowl. Put a generous amount of white, silver or gold glitter into the bowl then mix it.
Get a small bowl and put some mod podge. Apply mod podge on the glass container using paint brush. Cover the entire container with mod podge.
Grab the glitter-salt mixture and sprinkle a spoonful on one side, then on another until the whole container is fully covered with the mixture. Then, let it dry.
Finally, wipe off the excess bath crystals. However, if you want to have a thicker texture, apply another layer of mod podge and salt. You can make more frosted decors using clear containers or ornaments.
Watch How it is Done
Save All the Steps Above using this Bookmarklet