
How will you remember your wedding day? Preserving flowers is a beautiful method for creating a lasting memory. In this D.I.Y. tutorial I’ll explain exactly how to preserve roses to create a lasting memory. This project would work best if it was done within one or two days after your wedding. When you take out these preserved roses years down the road, you will remember your wedding day as if it was yesterday, and be so glad that you did this project.
If you are not a lover of D.I.Y projects, or you don’t have time within a few days of your wedding to complete all of the steps (honeymooning?), consider getting an Eternity Rose instead!
If you still would like to preserve the roses yourself then here are the steps:
Gather Your Supplies
You will need silica gel (available at craft stores), an airtight container that is at least 7″ tall (a small to medium sized storage bin or a large cookie tin will work well), and and florist’s wire cut into 4″ pieces, one for each rose you will be preserving.
Prepare Each Rose
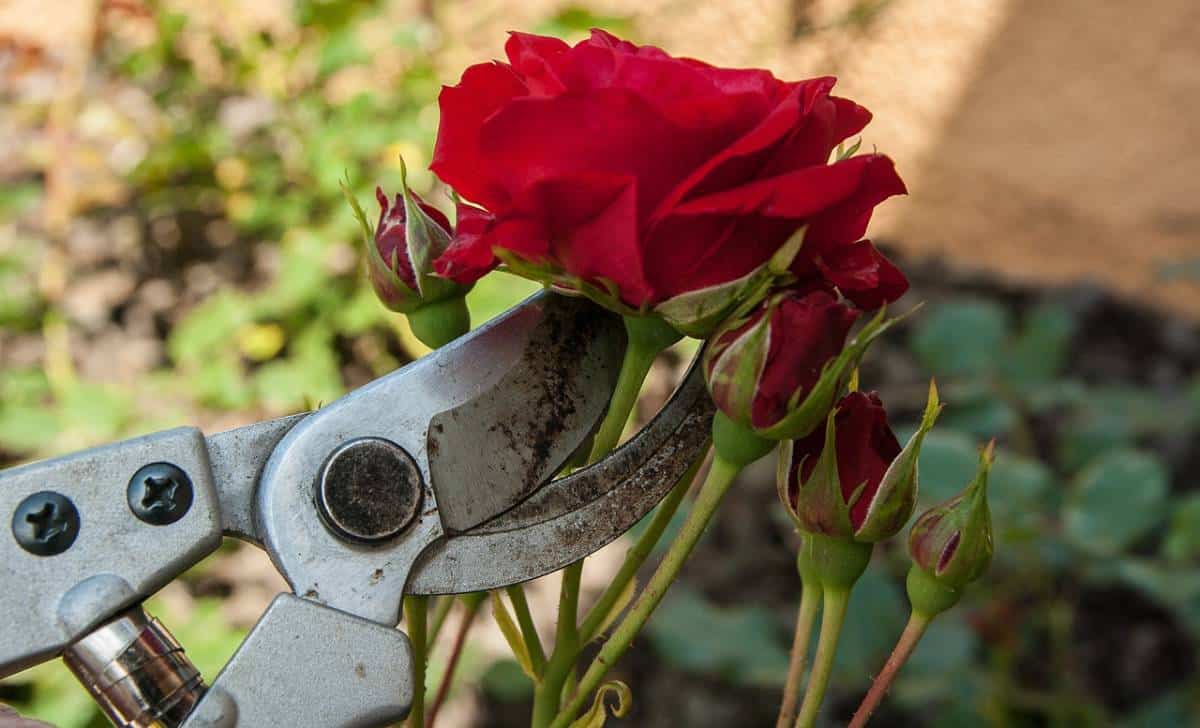 Gently cut the roses or pull apart the flowers in the bouquet, being careful not to crush any roses or tear of petals. Then cut the head off of each rose, leaving only about 1/2 to 1″ of the stem attached. Press a piece of florists wire into the base of the rose by pushing it up through the small remaining section of stem until it fees secure. Save the stems that you cut off. Before you move on to the next step, fill your airtight container up about half way with silica gel.
Apply The Silica

Next, fill each rose with silica. Do this by holding the rose over your airtight container with silica gel in it, and using your other hand to scoop up a cup of silica gel and release it in a pouring motion over the flower head. Don’t force the gel to go anywhere in particular, just let it fall naturally.
Your aim is to keep the shape of the flower intact, but to fill the crevices between petals with the sand-like silica gel. Once you feel all of the crevices have been filled set the flower into the container, so that it stands up by nestling it about 1/2″ deep into the gel. Do this with each rose you would like to preserve, spacing them evenly apart within your container.
Cover The Rose in Silica
Start adding more silica gel around the outside of the rose, against the pedals. Build upwards so that your rose has silica gel around all sides, but be gentle so that the pedals do not get crushed inwards. Add a little bit of silica gel at a time, allowing the petals to maintain their natural shape. Once every rose has been completely buried in this manner, place the lid on your container. Leave this for two weeks.
Once two weeks have passed, uncover your roses gently. You can reattach the stems that you have saved by pressing the wire from the roses into the stem. These roses will be a beautiful centerpiece for your anniversary dinners, or you could place them behind glass and hang them above the mantle!
A preserved rose can be cherished for years, always reminding you of the special day that you said your vows. Don’t let those memories slip away! Will you be preserving flowers after your wedding day? Leave a comment below!